Today’s guest post is includes the pattern for this Christmas Express Ornament Collection. Julie at Prairie Point Junction created this special collection of ornaments as a tribute to the much loved holiday book, The Polar Express. Use the designs to make ornaments, package tags, a decoration for a wreath, or use the pattern page as a coloring sheet too! Stop by Prairie Point Junction to get all the supplies you need for your holiday felt crafting and don’t miss the Christmas Express wool felt and DMC floss kits.
Julie is also offering our readers a 20% discount off any regular priced order placed through December 23rd, 2016. Use code WEEFOLKHOLIDAYS at checkout to apply the discount.
Stop by Prairie Point Junction, home of Wool Felt Central today!
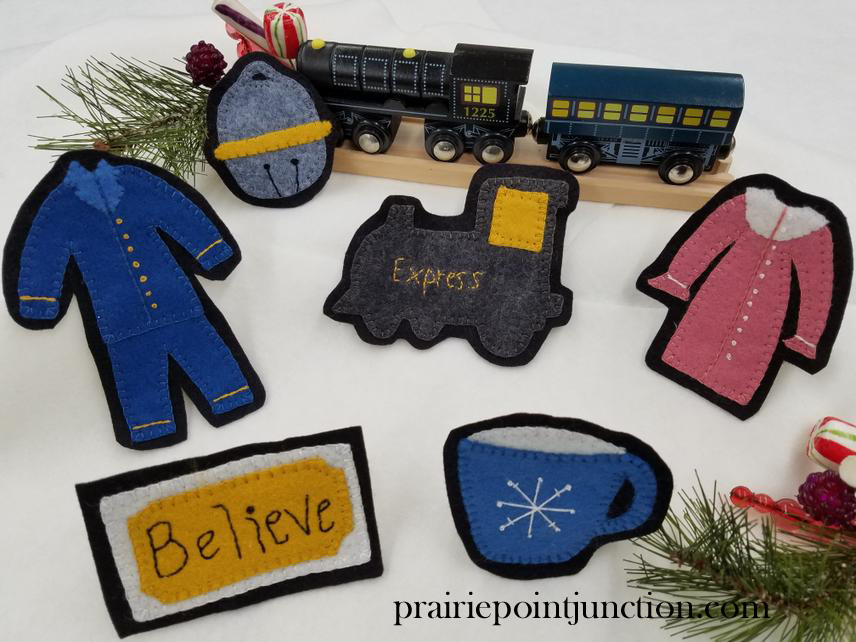
Suggested Supplies for Christmas Express Ornament Collection:
OR
- Scraps or 12”x 18” pieces of wool blend felt in Norwegian Blue, Deep Blue Sea, English Rose, Old Gold, Cloudy Day, Licorice, White and Black.
- DMC Embroidery Floss to match colors of felt: 798, 3842, 3716,783, 317, 535, White, 310
You will also need:
- DMC Pearl Cotton Size 8 in Black
- Acid Free Glue Stick or Roxanne’s Glue Baste It
- Freezer Paper for tracing designs
- Pattern
Directions to make the Christmas Express Ornament Collection:
1.Trace pattern shapes onto the dull side of freezer paper. Trace each element of the
design separately. For example, on the bell, you’ll need to trace the outer bell shape and then trace the band of the bell separately. Think of it as tracing each layer of the design separately.
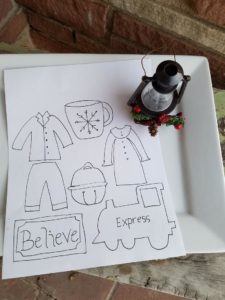
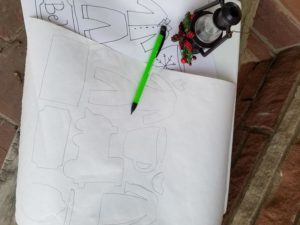
2. Loosely cut around the traced shapes.
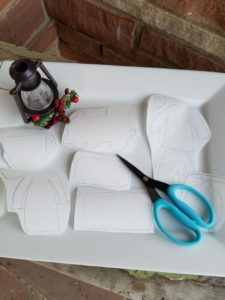
3. Iron the waxed side of the freezer paper to the desired color of felt.
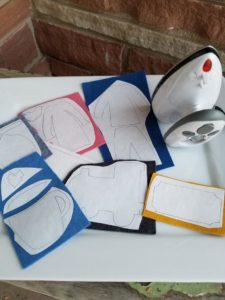
4 .Cut out the shapes following the traced line. Remove freezer paper from shapes.

5. Position felt shapes onto a piece of black felt. Leave at least a generous half an inch between each shape. Use an acid free glue stick or a few tiny drops of Roxanne’s Glue Baste It to adhere the applique shapes to the black felt. Very loosely cut out around applique shape leaving at least a generous ¼ inch of black showing around each shape.
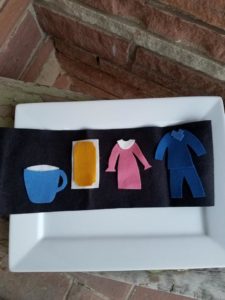
6. Blanket stitch around the individual applique shapes using two strands of matching floss. Wee Folk Art has a blanket stitching tutorial here: http://weefolkart.com/blanket-stitching-part-1-think-you-stitch/
7. Embroider the details on each ornament, following pictures below. Use 2 strands of matching or contrasting floss.
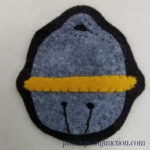
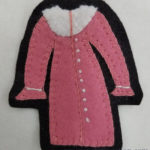
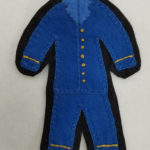
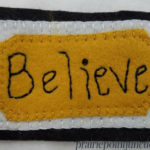
Wee Folk Art has a variety of embroidery stitch diagrams here: http://weefolkart.com/category/patterns-crafts/needle_work-2/stitch_glossary-2/
- Make French Knots for the buttons on the boy’s and girl’s pajamas.
- Use a Stem Stitch to add details to the pajamas.
- Secure the pajama collars using a whip stitch.
- Use the black pearl cotton to stitch backstitch to add the words Believe and Express.
8. To trace the letting for Believe and Express you can use bridal netting to trace the lettering. Place a piece of bridal netting over the pattern.
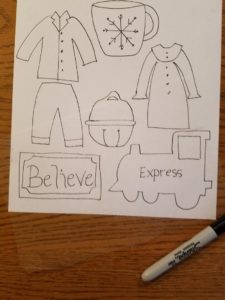
Trace lettering onto netting with a black permanent marker.
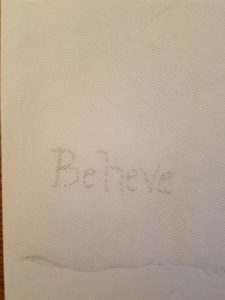
Place netting on top of wool felt in desired place. Trace over the netting using a disappearing marking pen.
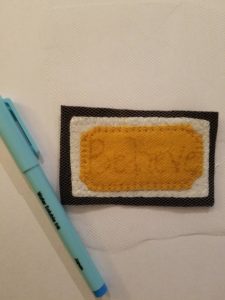
The marking pen will go through the netting and transfer onto the felt.
9. Once embroidery details are complete, trim the black felt approximately ¼” beyond the edge of the applique shapes.
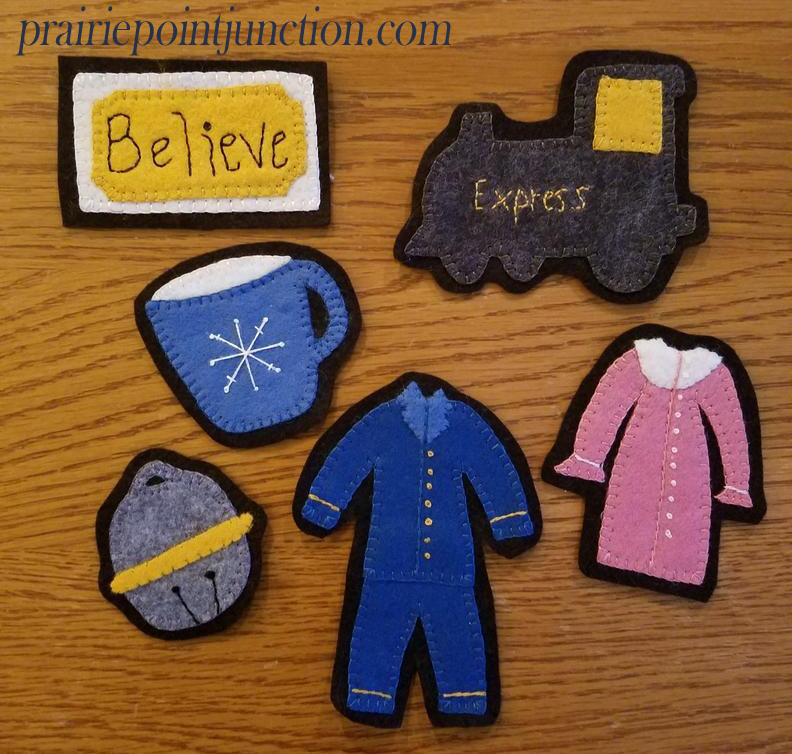
10. At this point, the ornaments can be considered finished, if desired. Add a length of black pearl cotton for a hanger.
11. To create a finished backing, you can also lay the ornament on a second layer of black felt. Use a glue stitch or Roxanne’s Glue Baste It to adhere layers together. Trim second layer to match first layer. Blanket stitch around edges using pearl cotton. Add a length of pearl cotton for a hanger.
Don’t forget, Julie is offering our readers a 20% discount off any regular priced order placed through December 23rd, 2016. Use code WEEFOLKHOLIDAYS at checkout to apply the discount.
Stop by Prairie Point Junction, home of Wool Felt Central today!
The post Christmas Express Ornament Collection appeared first on Wee Folk Art.


